 A friend in the auto detailing business suggested a way to fix paint chips on cars quickly and economically. We tried it, and we could see that unless you knew exactly where the chip was, you could never see the repair.Years ago, assembling a 300SL we’d restored as a show car, we accidentally put a few small chips in the new paint. After the car was completely assembled and finished, we repaired the chips by sanding the damaged area, applying primer, block-sanding it, and spot-painting a section of the panel, trying to keep the repair as small as possible. Matching the color might have required painting the whole panel, which was time-consuming and expensive.A friend in the auto detailing business suggested a way to repair the chips quickly and economically. He proposed brush-touching the chips with a dab of paint. I thought the paint would look as if it had been brushed, but he described the process of building up the paint just above the original level then gently sanding it down. We tried it, and we could see that unless you knew exactly where the chip was, you could never see the repair. The process works best with solid colors; metallic colors may come out blotchy.
A Better Way
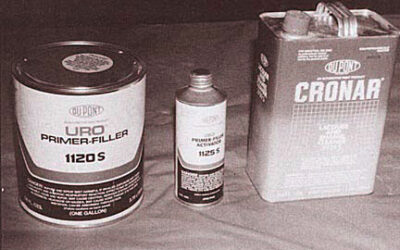
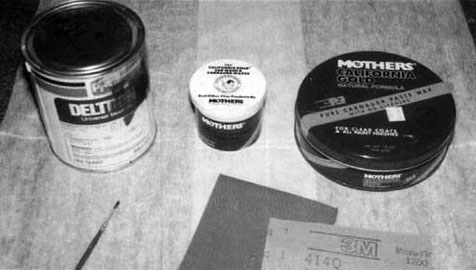
First, get the right touch-up paint for your car. For a recent model with original factory paint, a Mercedes-Benz dealer can sell you a small bottle of touch-up paint with an integral brush. If you don’t know the name of the color, if it has faded, or if the car has been repainted, your local automotive paint store can match a paint sample and sell you a pint or so. Your car has a code used to determine the formula for mixing the color.
Clean the chipped area. Paint will not stick to a surface with wax, grease, or silicone on it. Dilute a liquid detergent, and use a sponge or soft rag to clean the area around the chip, especially the chip itself. Clean off any accumulated residue. Let it dry. If you see bare metal, dry it immediately to prevent rusting.
 This works well for a small chip, perhaps caused by a rock, but a long scratch takes more skill and patience; it can be repaired, but rarely. Practice on a small, out of-the-way area so that if you make a mistake, it will be hidden. This process is not recommended for a car with a lot of chips. If that’s the case, consider repainting the panel. For one or two chips, this alternative saves the difficulty and expense of spot-painting a larger area or repainting an entire panel.
If you spot-paint an entire area and blend new into existing paint, you have two dissimilar paints: the new paint and the original underneath. When you spot-paint an area then finish it, you might get an exact color match then, but in time the two paints applied at different times age differently, and a ring or spot will appear.
Applying Paint
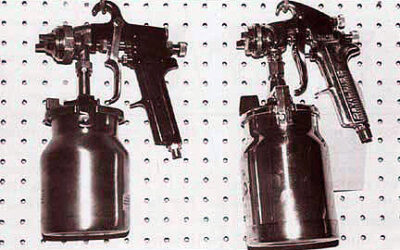
With the area clean and dry, you’ll need a good brush with a very fine point. A large brush will slop paint over the edge of the chip. To keep the paint inside the chip, you need a very small brush with just a few bristles.
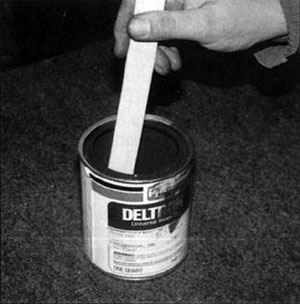
Mix the paint thoroughly. Liquid paint settles as it stands, so mix in all the pigment at the bottom of the container, or the color will be off. If the paint is too thick to go on the brush and be applied in a light coat, it will need to be reduced to a thinner consistency. If you’re using lacquer, you’ll need lacquer thinner; if you are using an acrylic enamel, use acrylic reducer. To get the desired consistency, paint should be thinned approximately one part thinner to one part paint or one half thinner to one part paint.
 With the brush, build successive light layers of paint into the chip. Paint shrinks as it dries, so build the layers gradually. If you put one big glob of paint into the chip, it will continue to dry for months, shrinking as it does so. Even if you finish it flat, a few months later a crater will develop where the repair was made. Allow drying time of at least an hour or two between paint layers. The longer you wait, the better the finish you’ll get, so let the paint dry thoroughly. Two to four layers of paint will be needed to fill the crater. Because the paint will shrink, build the final layers a little above the crater surface. It should be fairly close but slightly above the surrounding paint. Let this dry for several weeks. In the meantime, your car won’t look awful. It will look like you simply brush-touched that area, which will certainly look better than the chip. The key to this entire process is that the paint must dry thoroughly.
Finishing
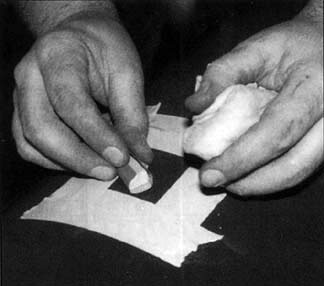
Learning the skill of finishing is another key to success. You’ll need a cube about an inch square that is perfectly flat on at least one side to use as a small wet sanding block. If you don’t have something flat of this size, cut a block of hardwood. Before sanding, you might mask off the area by putting tape about an inch away all the way around. Then if you get a little aggressive in your sanding, you won’t sand and scuff the surrounding area.
 Use 1,000-grit or 1,200 grit ultrafine wet sandpaper. You need very little; a sheet will cost about a dollar at an automotive paint store. Tear off a tiny square, enough to wrap around the block, then use a sponge to wet the area as you sand. Use the sandpaper and block to level the paint mound down to the surrounding original paint. Use the lightest possible pressure on the block, and gently wear down the little mound. Sand a little and very lightly—this can take mere seconds—then dry the area and inspect it. When you see that the mound has disappeared, you’ve gone far enough.
Avoid sanding too much. If the paint is old or thin, or if you sand too hard, you’ll go right through the finish. If you very carefully let the block float with just the gentlest pressure over the little mound of paint built up over the chip, you’ll wear off the top of the new surface without removing much if any of the surrounding paint. Ideally, you’ll scuff it just a bit.
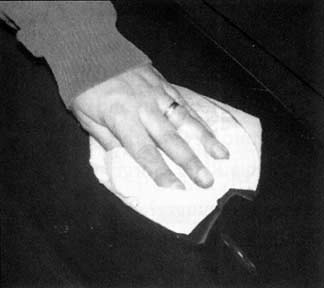
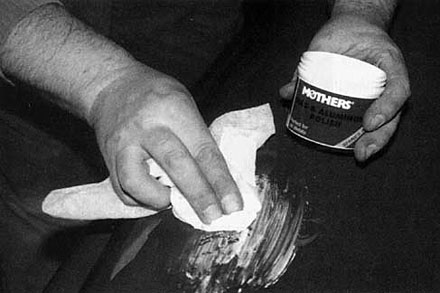
Next, use magnesium polish, Mother’s or Blue Magic, available at most automotive stores. Magnesium is the finest abrasive I’ve found for compounding paint. Use a soft cloth in the area scuffed by the sandpaper, and rub until the scratches are gone. Rubbing in one direction works best. After polishing, wipe the area dry and inspect it. If you see deeper scratches, do a little more polishing with the mag polish.
Finally, wipe the surface clean and use wax or automotive polish (carnauba wax or similar), to finish the area around the chip. Done right, you’ve filled the chip and finished the top so that it blends in nicely. If you look very closely, you may see the spot. If you notice bubbles trapped in the paint (they produce white specks in the center of the chip) your paint was probably too dry, too thick. As you grow more skillful in applying wetter, thinner layers, the surface will not bubble.
This method can effectively repair a chip without painting an entire panel. I’ve used it on show cars, where it even held up to the scrutiny of judges.